
Integration with WooCommerce
How to connect NetRadar.io price monitoring to your WooCommerce webshop using the WooCommerce REST API.
Here you can read how to integrate NetRadar.io price monitoring with your WooCommerce webshop.
Requirements
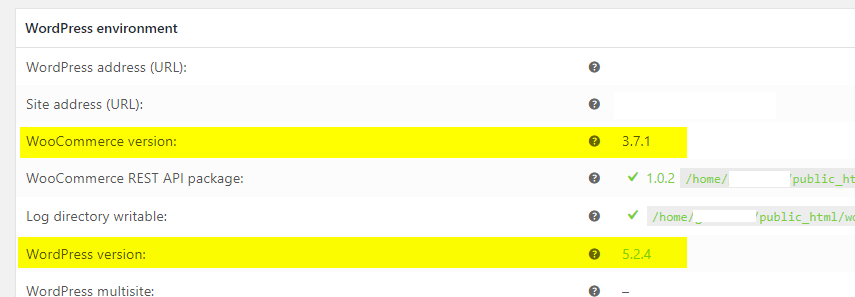
The integration uses version 3 of the WooCommerce API. Your WordPress must be version 4.4 or later, and WooCommerce must be version 3.5 or later.
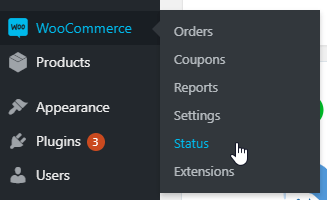
You can check your versions under 'WooCommerce' → 'Status':
Then look at these lines:
Activate the WooCommerce integration
- Log in to NetRadar.io price monitoring at https://app.netradar.io/.
-
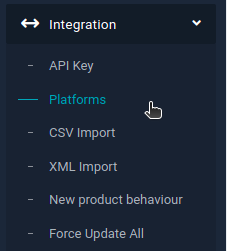
Select the menu item 'Integration' and then 'Platforms'.
-
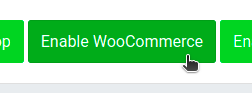
Click the 'Enable WooCommerce' button.
Set up the integration with API keys
-
Enter your domain name, including
http://orhttps://– for examplehttps://minshop.dk.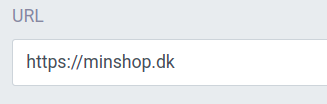
-
In a new browser window, log in to your WordPress administration.
-
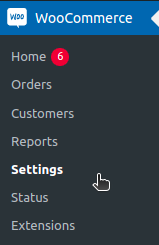
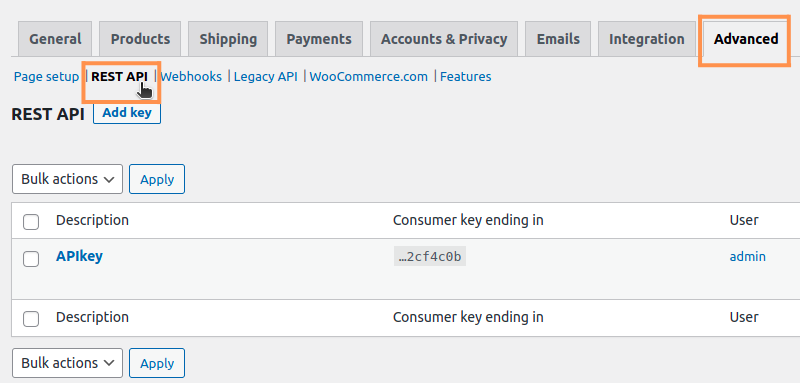
Go to the WooCommerce settings, select the 'Advanced' tab and click 'REST API'.
-
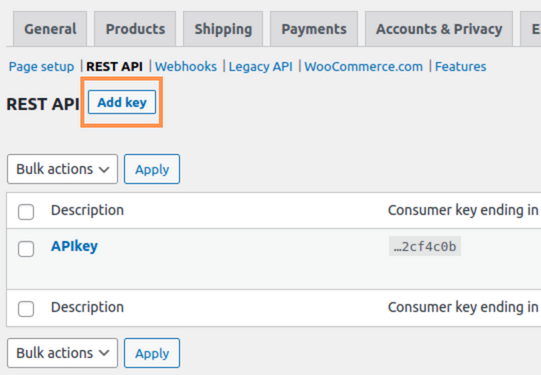
You can use an existing API key or create a new one. To create a new key, click 'Add key'.
-
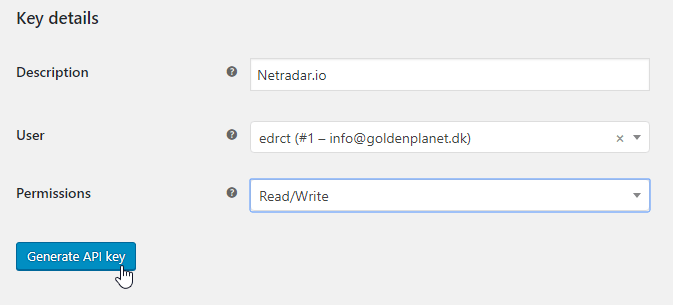
Fill out the form. 'Permissions' must be set to 'Read/Write'. Then click 'Generate API key'.
-
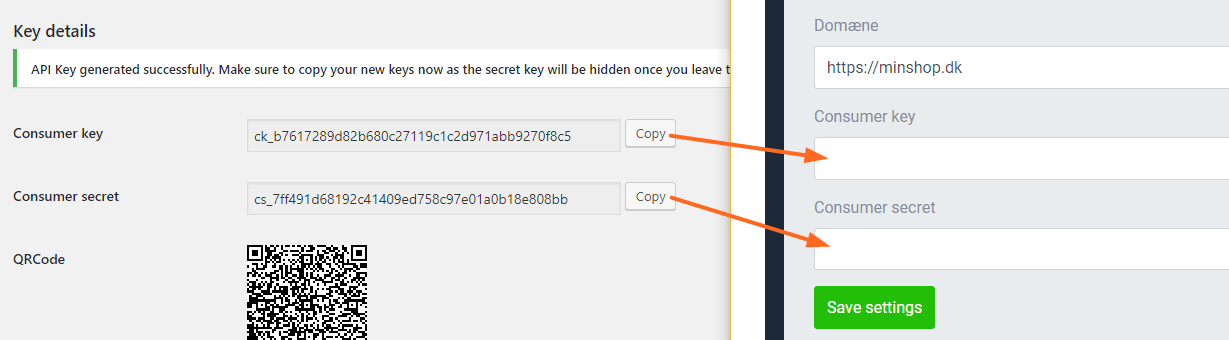
Copy the 'Consumer key' and 'Consumer secret' from WooCommerce into your NetRadar.io setup.
-
Click the green 'Save settings' button in NetRadar.io.
Your integration is now complete. Your products are now being imported for price monitoring – this typically takes about 5 minutes per 1,000 products.
Need help? If you run into an error or need help setting up the integration, contact us at support@netradar.io or call +45 77 34 34 34.
Add barcode (GTIN/EAN), brand and cost price from a product feed
WooCommerce does not have built-in fields for barcode, brand and cost price, so this information is not available through the API integration. If you have a product feed for e.g. Facebook or Google Shopping, we can import the information from there.
Many users have had success with this plugin for managing product feeds: https://woocommerce.com/products/google-product-feed/.
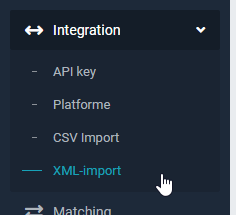
When you have set up the WooCommerce integration as described above and all products have been loaded, go to 'Integration' → 'XML Import':
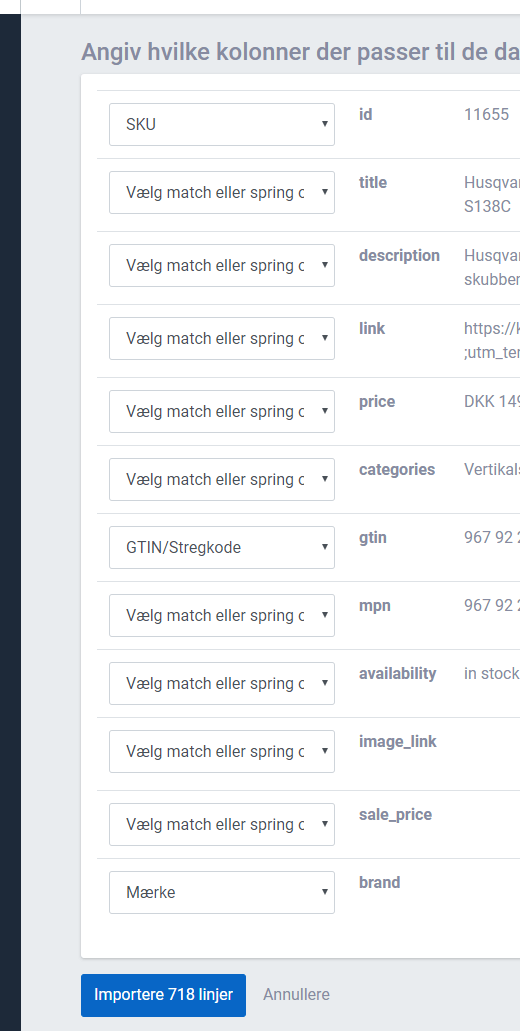
Enter the web address of your product feed and select the fields for SKU/ID, GTIN (barcode), brand and cost price. Leave all other fields unselected:
We recommend waiting about an hour – or until all products have been updated with barcode information – before you enable the products for monitoring. See Enable products for monitoring.